Downsizing the waist of jeans is a common alteration and can dramatically improve the fit. Here’s a step-by-step guide with sewing tips and tricks to help you do it neatly and professionally:
🧵 Tools & Materials You’ll Need:
- Seam ripper
- Tailor’s chalk or fabric marker
- Pins or sewing clips
- Sewing machine (with heavy-duty needle for denim)
- Matching thread
- Iron
✂️ Step-by-Step Instructions
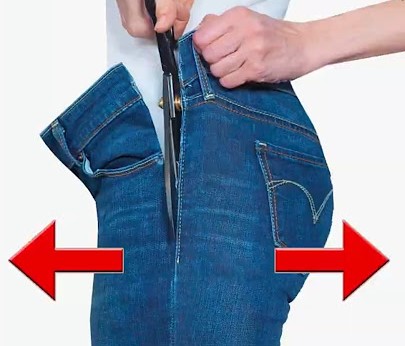
1. Try On the Jeans & Mark the Excess
- Put on the jeans inside out.
- Pinch the excess fabric at the back of the waistband.
- Use chalk or pins to mark how much you want to take in (usually 1–2 inches total).
2. Remove the Back Belt Loop
- Use a seam ripper to remove the center back belt loop. You’ll reattach it later.
3. Open the Back Waistband Seam
- Carefully rip the waistband seam about 3–5 inches on either side of the center back seam.
- Detach the waistband from the jeans only in that center section.
4. Take In the Center Back
- Turn jeans inside out.
- Mark a new center back seam, tapering down smoothly into the yoke or seat seam.
- Stitch the new seam and trim off the excess fabric. Use a zigzag stitch or serger to finish the raw edges.
5. Adjust the Waistband
- Cut a wedge from the waistband equal to the amount taken in.
- Fold the waistband pieces together (right sides facing) and sew.
- Press open the seam, then reattach the waistband to the jeans.
6. Reattach the Belt Loop
- Sew the center back belt loop back in place, covering the waistband seam.
🧵 Pro Sewing Tips
- Use a denim needle (size 90/14 or 100/16) to prevent needle breakage.
- Topstitch with heavy thread to match original stitching, if desired.
- Test your tension and stitch length on a denim scrap before sewing the actual jeans.