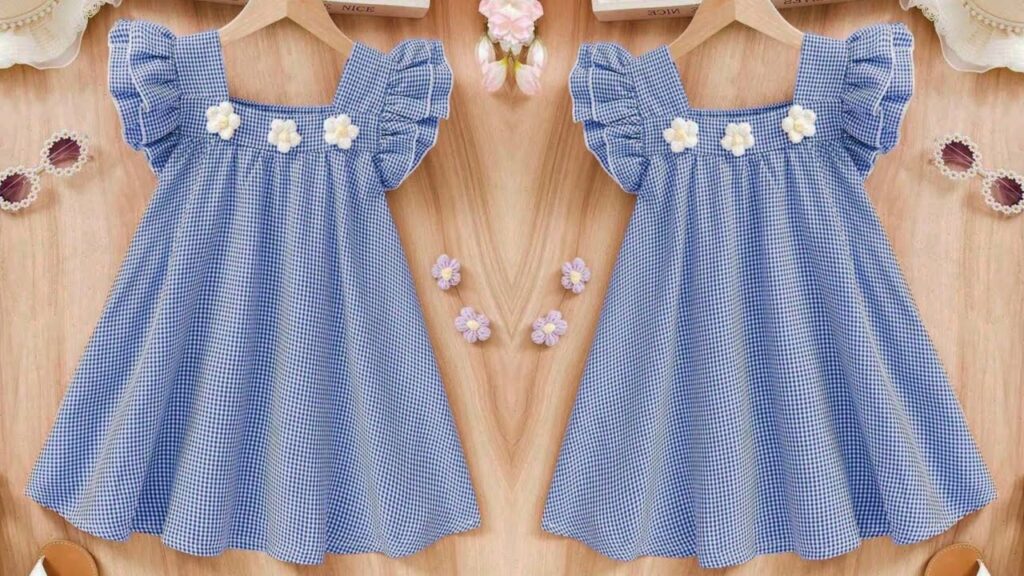
Here’s a simple, step-by-step guide on how to make a beautiful plaid cap sleeves baby frock — perfect for beginners or anyone who loves handmade baby clothes 💕
🧵 Materials Needed:
- Plaid fabric (light cotton or soft linen) – about 1 yard
- Lining fabric (optional) – ½ yard
- Matching thread
- Scissors
- Sewing machine or needle for hand sewing
- Buttons or zipper (for back closure)
- Pattern paper or tracing paper
- Measuring tape & pins
✂️ Step 1: Take Measurements
Measure your baby’s:
- Chest
- Waist
- Shoulder to knee length
- Armhole circumference
These will help you draft the correct pattern.
👗 Step 2: Draft the Pattern
Draw or trace a simple bodice pattern:
- Front bodice: cut on fold
- Back bodice: cut in two pieces for button/zip closure
- Add ½ inch seam allowance around all edges
For cap sleeves, draw a small curved pattern that just covers the top of the arm (like a petal shape).
🪡 Step 3: Cut the Fabric
- Cut the bodice front and back pieces from plaid fabric (and lining if using).
- Cut the skirt as a wide rectangle — width 2 to 2.5 times the baby’s waist for nice gathers.
- Cut two cap sleeve pieces.
🧷 Step 4: Sew the Bodice
- Stitch the shoulder seams together.
- Attach the lining (if any) to the neckline and armholes.
- Turn right side out and press neatly.
🌸 Step 5: Attach the Cap Sleeves
- Pin each cap sleeve to the armhole edge (right sides together).
- Sew carefully along the curve, making sure both sides are symmetrical.
👶 Step 6: Make the Skirt
- Gather the top edge of the skirt piece until it matches the bodice width.
- Attach the gathered skirt to the bodice (right sides together).
🎀 Step 7: Finish the Back & Hem
- Add a zipper or buttons to the back opening.
- Turn up the bottom edge twice and hem neatly.
- Press the entire frock for a crisp, professional look.
🌼 Optional Embellishments
- Add a small bow at the waistline or neckline.
- Use lace trim at the hem for extra cuteness.
- Try contrasting plaid direction on the sleeves or waistband for a stylish touch.